Blogging 101: Blogging on a Budget: Make Your Own Social Icons For Free
Hello!! We are back for more blogging basics!!! Dana and I are sharing what we have learned with you guys in our Blogging 101 series.
This week I will show you to make your own free social media icons! I use PicMonkey to do this and it takes no time! Then you have custom social media icons to match your site! You can choose the shape you like and make the colors custom match your site for free and it really takes no time at all. Quick, easy, custom and free, is there anything better?
Now PicMonkey is free but for I think $4.99 a month you get the upgrade which I have because it is only $5 a month and I like the extras.
So making your own social media icons is a cinch.
First go here to Something Swanky and download the icons you want to use (make sure you save them as pngs)
Now open Picmonkey and let’s get started.
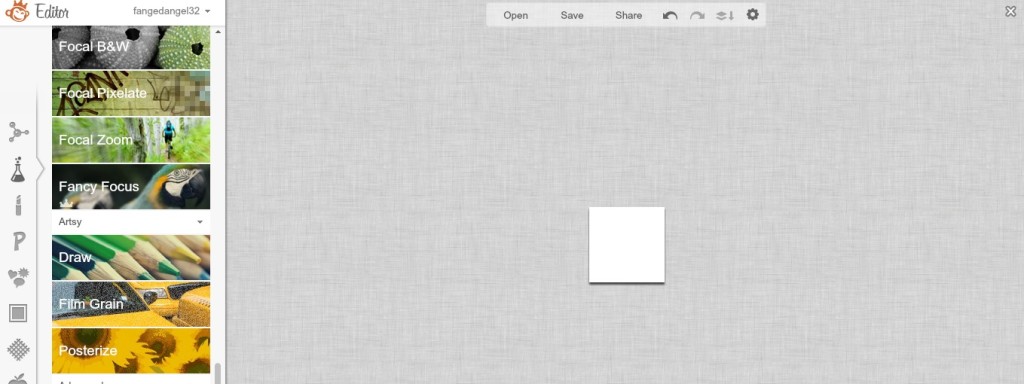
You want to open your image, just use a blank 100×100 white image.
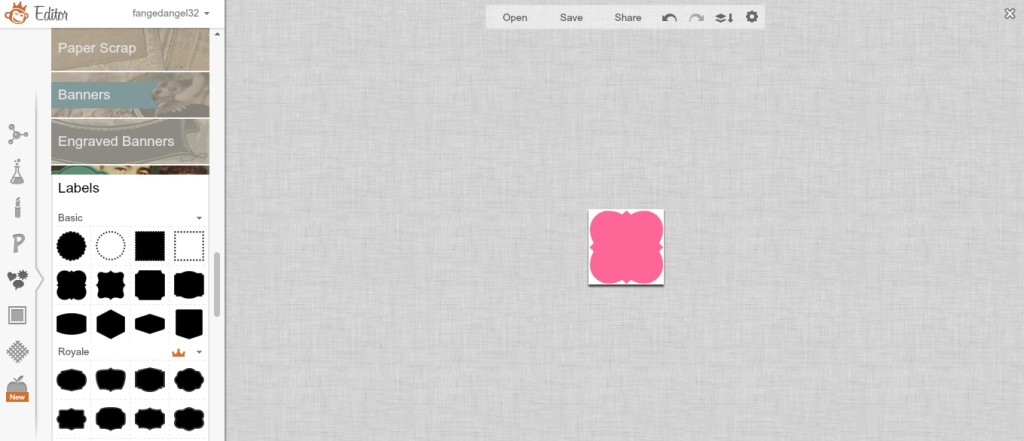
Go to overlays (that little icon on the left that has a heart and conversation balloon thingy) And choose the shape you like best. I like to choose my icon shapes from the labels category under overlays.
Choose your shape and color.
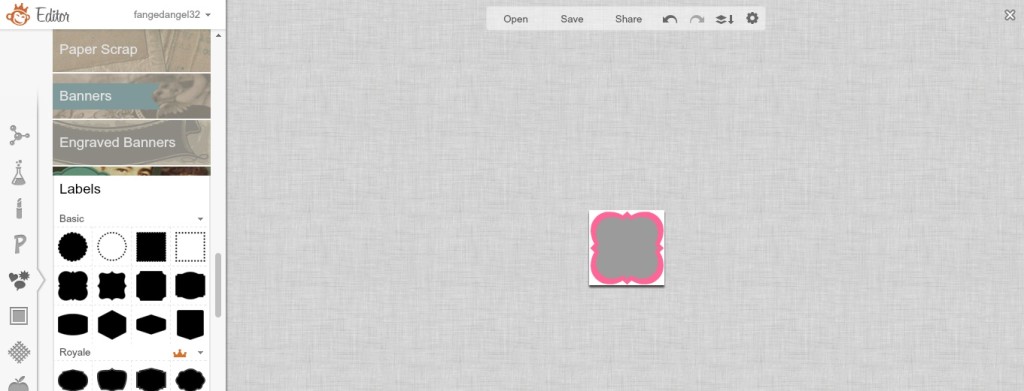
Then choose the same overlay in a different color and slightly smaller and place it over the existing one. So in this case I put a small gray one over my pink one.
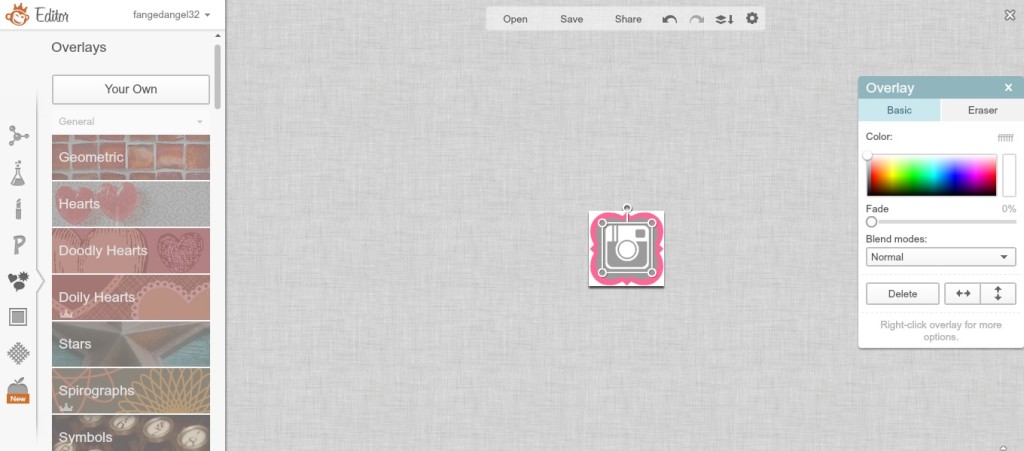
Easy peasy so far! Now when you are in the overlay section up at the top you have the option to click on “Your Own” in which you will choose the icons you previously uploaded from Something Swanky.
You will choose the icon you want and place it on your shape.
Adjust the color to your liking and done!!!
I wish I could have included more photos but it is seriously that easy that there was only a few pictures to take lol.
So there you go quick and easy way to get yourself some free custom social media icons!!
I will be more than happy to answer any questions you have!! I love to help!
Head on over to This Silly Girl’s Life to check out Dana’s Blogging Basics post this week where she covers How To Get The Best Photos For Pinterest
Please check out the rest of the post in our Blogging Basics Series!
Linked at:





Holy cow!!! I had no idea it was that easy!! I am totally going to try this. Thanks for sharing – I’m bookmarking and sharing as well! :-)
wow…yay! Thanks so much, I just made my ownbuttons using your tips…this is so cool. YOU ROCK
Yay!!! So glad I could help!! You rock lol!!
Thanks for this blogging series! I am for sure going to have to make my own social media buttons!
I’m going to spend some time reading your wonderful blog. It is so informative! I hope to greatly improve my blogging.
You are going to put me out of business, LOL :-) thank you for sharing at the Thursday Favorite Things Hop. xo
P.S. I’ve never used picmonkey I am going to check it out :-)
I was just thinking last night about how I needed to figure out how to do this…so thank you!
Wowza, thanks for sharing! I’m so “untechy”, I’m surprised I can even blog! Ha! Newly following from Inspriational party!
Kristy @ Cup Of Jo
This is awesome information. I’ve got to try this.
Thanks for sharing with us at our Thursday Favorite Things Blog Hop.
Angel @ sewcraftyangel.blogspot.com
Also new Bloglovin follower.
Thank you!! I’ve been trying to figure this out for a while. And now I know, woohoo! I’m absolutely loving this series. I know it will end at some point, but I really don’t want it to!
This is awesome! Thank you for posting! :)
Love this tuturial! Found you on Diana’s Pin Party – great info!
I really love these posts–things every blogger should know (and exactly what I was thinking about this morning when I got up and cringed at my own social media icons!). Thank you SO much for this series–it’s a gem, and I wouldn’t hesitate to share it with my friends. Looking forward to more goodies–Cheers!
Cool tips! Thanks for sharing at Foodtastic Friday!
I love this post! Stopping by to let you know I am featuring it tomorrow on Made in a Day! Congrats!
Kim
I just love your series! Thank you for the wealth of information you share. It’s REALLY helped me with this blogging learning curve!! XXOO Have a great Labor Day Weekend :)
Thanks for a great tutorial… I’ve followed your instructions however there appears to be a box around the icons on my blog?? I think it has something to do with the blank 100 by 100 square… what can I do to make this transparent like yours? Thanks, Bee
Sorry I’ve been a muppet and saved as jpeg instead of png!! Thanks again! x
Thank you for this post! I was getting frustrated! I do have a question though….How do you get all of your icons on one thing? I want to put them at the top of my blog over the cover, but I have no clue how to do that….Do you have a tutorial for that or know where I can find one? I’t still new to blogging, and learning something new everyday! I’m still trying to get my blog to look how I want it…lol…seems to be a never-ending process!
I am so glad you liked the post! I still learn something new everyday about blogging 4 years later, it is indeed a never ending process. I have no clue how to get all my icons on one thing, it was something that stumped me forever so I just get it done by a designer and my friend Cami did it for me and she does amazing work and she can help you with that and it shouldn’t cost too much at all, you can find her list of services here —-> http://www.titicrafty.com/tcdesigns/