Peanut Butter & Jelly Blondies
Hey guys!!! Seems like forever since I wrote a post since my site was down last week :(
So shopping around my fav store Target (I mean that’s everyone’s favorite store right?) and suddenly I catch a whiff…sniff sniff….crayons….sniff sniff…..construction paper….sniff sniff…..pencils…..sniff….and a hint of new backpacks….the unmistakable scent of back to school. That means Dana and I are kicking off our After School Snacks Series. A month long series full of delightful treats sure to fill the tummies of your hungry kids.
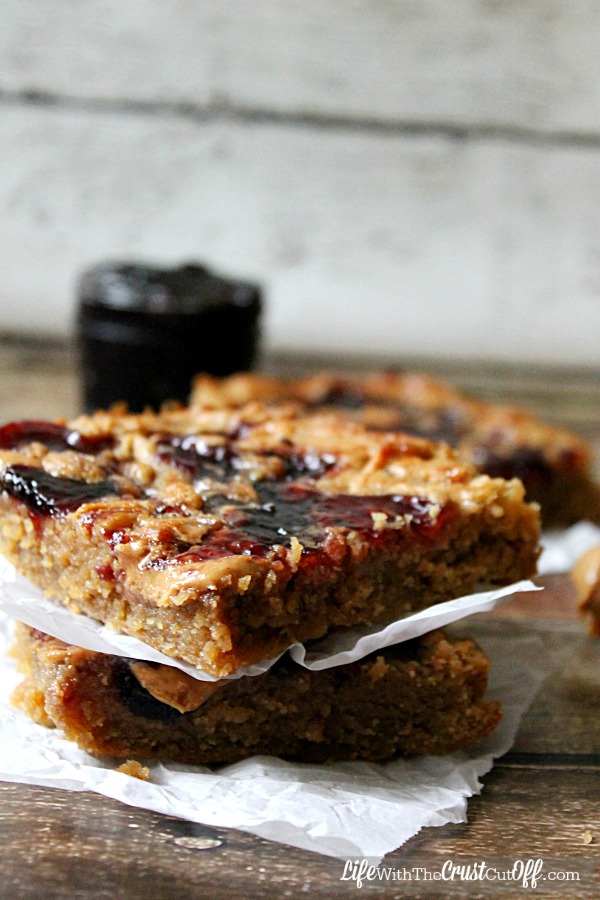
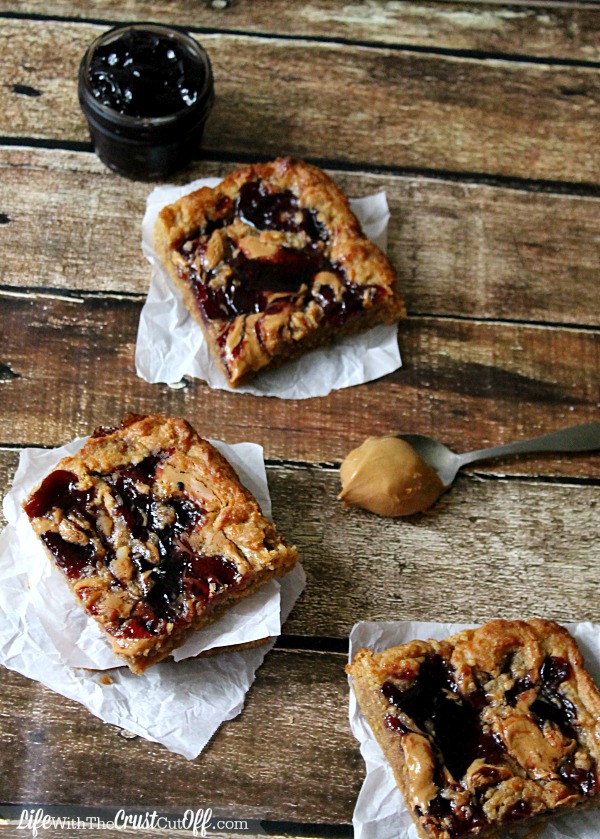
First up I am sharing these amazing Peanut Butter and Jelly Blondies. They are to die for!!!! Oh and they take like 5 minutes to prepare to bake, oh and only dirty one bowl, oh and if you use foil you don’t have to wash the pan…..score!!!!
That’s right these babies are super simple to make, just a few minutes and they will be baking away in the oven which makes them the perfect snack to bake while you are prepping those school lunches the night before, then before you know if you have a fresh, delicious snack just waiting for those ravenous kids after school.
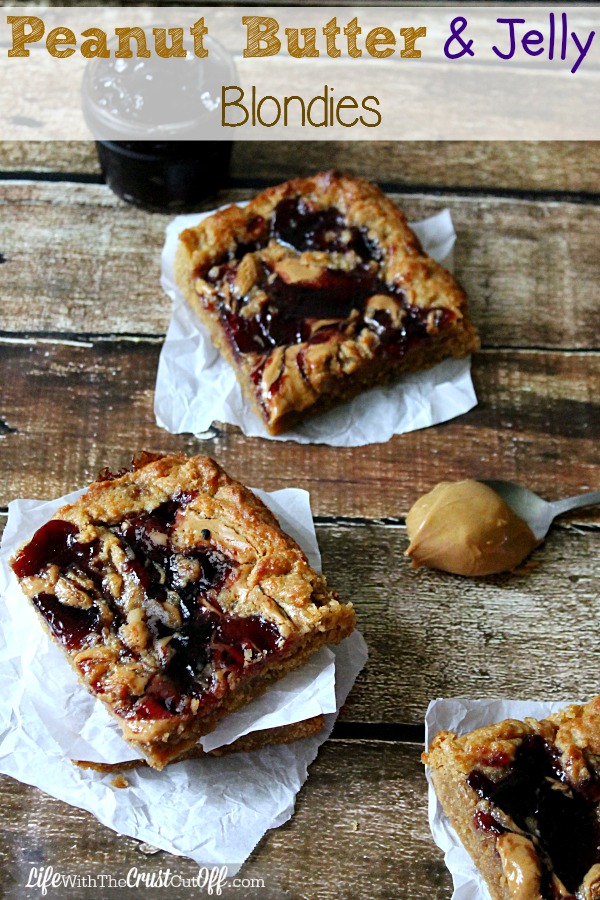
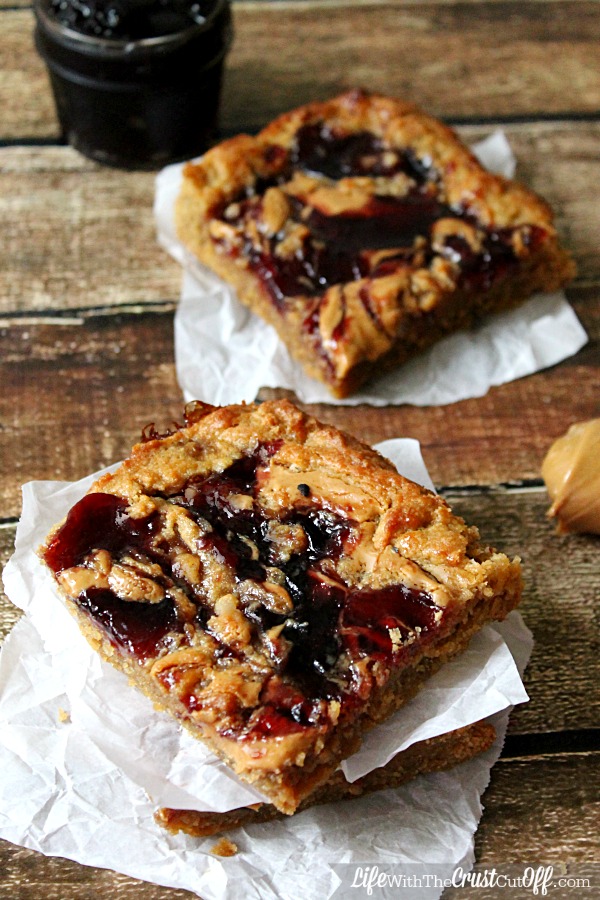
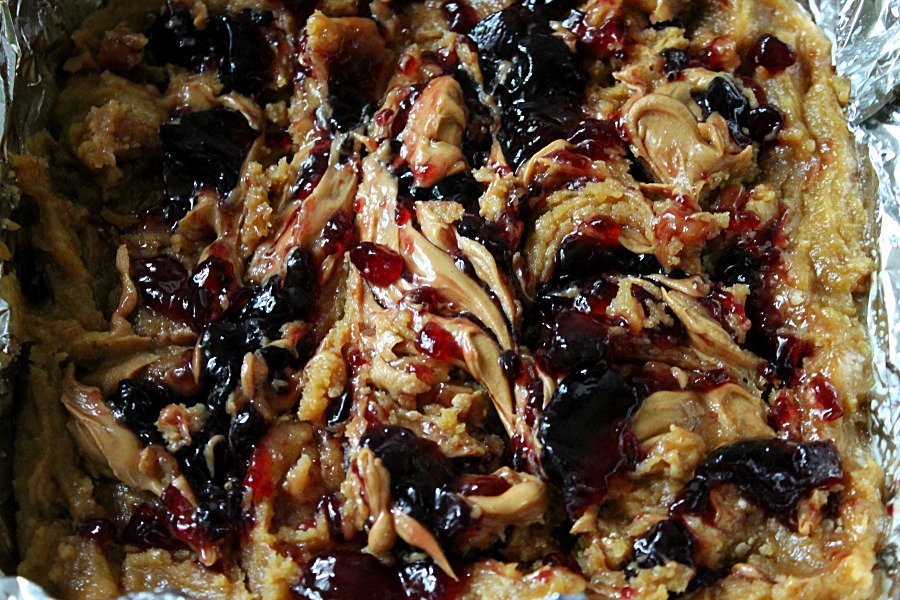
The moist peanut butter blondie is incredible but then it is topped with dollops of peanut butter and jelly that get all swirled together and gooey in the oven. These are to die for (you might want to keep some for yourself)
So next time you have a few minutes whip these beauties up and you will have some happy after school snackers and look like a rockstar mom!
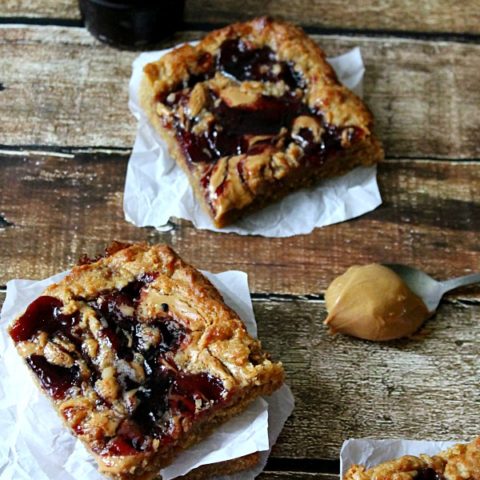
Peanut Butter & Jelly Blondies
Ingredients
- 1/2 cup butter, melted (1 stick)
- 1/4 cup creamy peanut butter, melted
- 1 cup light brown sugar, packed
- 1 large egg
- 2 teaspoons vanilla extract
- 1 1/4 cups all-purpose flour
- 1/4 teaspoon salt
- 1/4 to 1/3 cup creamy peanut butter
- 1/4 to 1/3 cup jelly
Instructions
- Preheat oven to 350F. Line an 8-by-8-inch pan with aluminum foil, spray with cooking spray; set aside.
- In a microwave-safe bowl, melt the butter and peanut butter for about 60 seconds or until butter is melted. Stir until smooth and combined. Add the brown sugar and stir to combine. Add the egg, vanilla, and stir to combine. Add the flour, salt, and stir until just combined. Pour batter into prepared pan, smoothing lightly.
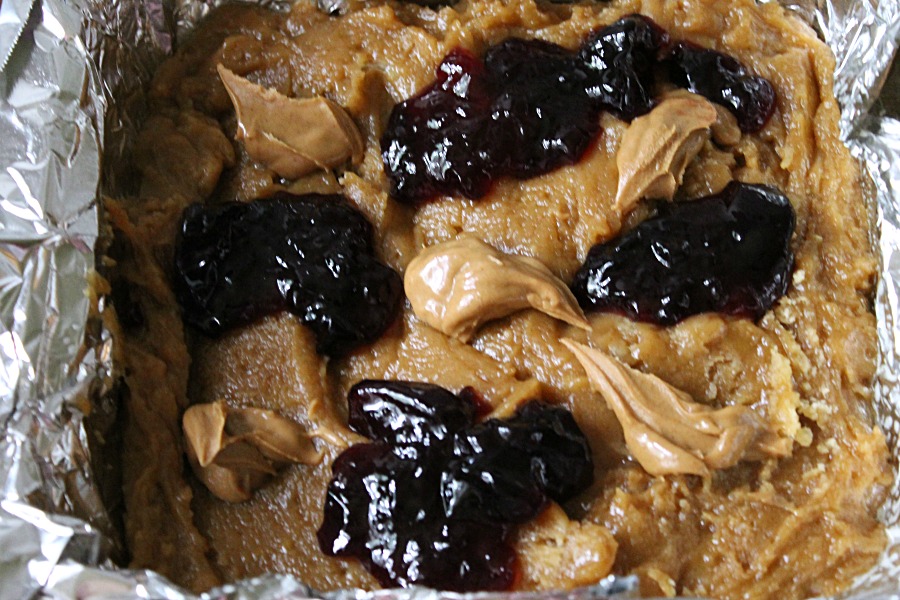
- To the top of the batter, add 1/4 to 1/3 cup peanut butter, dolloped out in 4 or 5 tablespoon-sized mounds. Add 1/4 to 1/3 cup jelly, dolloped out in 4 or 5 tablespoon-sized mounds. Using a knife, marble the peanut butter and jelly in a zig-zag pattern.
- Bake for 22 to 27 minutes, or until edges begin to slightly pull away from sides of pan, center is set and a toothpick comes out clean. Let blondies to cool completely before slicing and serving. Store blondies in an airtight container at room temperature or in the refrigerator for up to 1 week, or in the freezer for up to 3 months.
Notes
Adapted from www.averiecooks.com
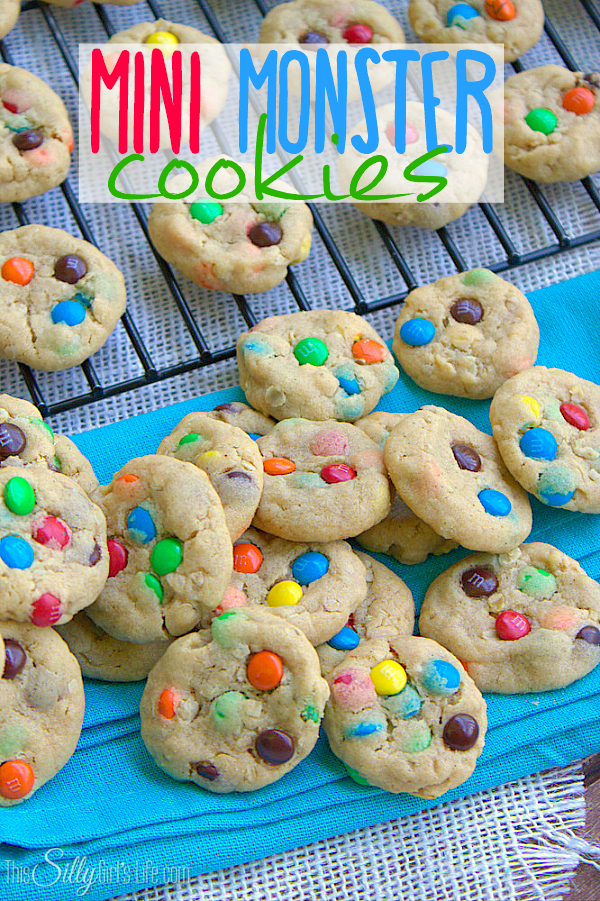
Now head on over to Dana’s and check out her yummy Mini Monster Cookies!!
.ads in wordpress
Follow me on Pinterest for more yummy recipes!!
OrgJunkie.com DIY Home Sweet Home The Country Cook



Oh my goodness, Parrish…these look so amazing! I love how gooey they look!
Yum! These look delicious and bonus that they are so easy. My kids would love these. Pinned to try!
Yumm! This would be a big winner with my son!
– Jennie
Come join my linkup and share!
http://thediaryofarealhousewife.blogspot.com
I have so much leftover jam/jelly in the fridge from all the canning I have been doing this summer and I think this will be a great way to use some!
Visiting from Super Saturday Link Party. Those look amazing, I must try them! I co-host Sweet and Savoury Sunday and would love for you to stop by and share this and other recipes with us. Have a great day!
Oh. My. Goodness. Yesss! I absolutey LOVE anything PB&J! So when I saw this on the Wake Up Wednesday linky, I just had to see how you did it! I am definitely going to be giving these a try! Thanks so much for sharing with me and my lovely co-hosts! Absolutely adored this post! Make sure you come back again next week to share more posts! I can’t wait to see what you’ve got for us!
http://mommieandwee.org/tag/wuw/
Oh my! My favorite sandwich in dessert form. This is true comfort!!
I just made these yesterday and they ARE amazing!!!! I am in love!